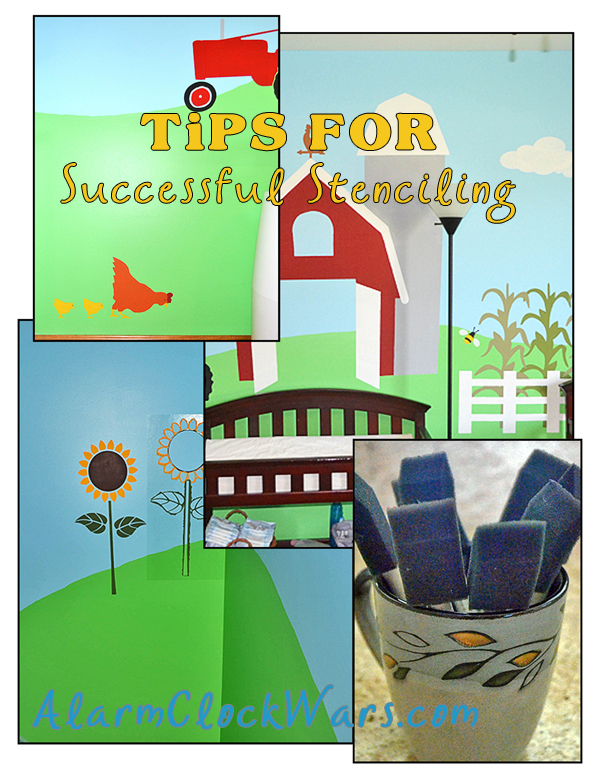
I had a great time stenciling a farm-themed nursery for Baby Doc. And I learned a few things about using stencils along the way. Here are a few stenciling tips to help you get started! I used this Farm Animal Wall Mural Stencil Kit by My Wonderful Walls.

- Have a plan before you start. Know where your furniture will be, and know how it will fit in the room. We ended up getting a different crib than the one we had originally planned on. The new crib has a different shape, and we ended up with some cows hidden behind the furniture.
- Figure out which part will be your “focal point” and where you want that to be. For me, it was the big barn. I laid out where I wanted the barn to be (above the changing table), and roughly planned out the rest of the stencils around that.
- Start by painting the upper color for the sky. Paint at least the top 2/3 of the wall this color, so you have some room to play with the horizon.
- Use white chalk to draw out a rough horizon. Also lightly sketch out the furniture placement with chalk, so you know where you need to have a “hill” come up higher, or you have space to put in a “valley.” Be sure to paint just over your chalk mark when you’re filling in the lower color for the grass.
- Use less saturated colors as your base colors. The sky blue and grass green I chose were a bit bright, and it was sometimes difficult to get good coverage on my stencils. With lighter base colors, it will be easier to fill in your stencils.
- Don’t plan on putting too many stencils too close to the floor. If you’re working on this project when you’re late into your pregnancy (like I was), it will be difficult to get down on the floor to work close to the ground. The detail work was the hardest.
- Use a paper towel to lightly rub the stencils to make sure they are firmly adhered to the wall. This gets all the edges and corners stuck to the wall (to prevent bleeding), and keeps the oils from your fingers off the stencil.
- Have plenty of 1-inch foam brushes available. You’ll need one for every color you are working with that day. Look for brushes that are fairly firm, and don’t have a lot of foam sticking over the insert inside the brush. (A longer “tip” gets soft quickly, and you will have more bleeding under the edges of your stencils.)
- Work from top to bottom and from left to right (right to left, if you are left-handed). If you need to rest your hand on the wall to get some of the detail work done, you won’t be resting it in wet paint.
- Use multiple light coats of paint in your stencils. This will cover better than one heavy coat, and there will be less bleeding under the edges of the stencil. You don’t need to wait for the paint to completely dry before adding the second coat, but do wait for it to be semi-dry (a little tacky).
- If you are using more than one color on a stencil, wait for the first color to completely dry before adding the second color.
- Use round-tipped brushes for your detail work. A finer brush (a liner brush, or a size 2 round brush) is great for things like adding eyes to the animals’ faces. A slightly larger brush (round, size 4) works well for filling in the brace points on the stencils.
- When you’re finished, use a dry Swiffer cloth to get the chalk marks off the wall. It will take a little bit of rubbing, but hopefully there aren’t many visible chalk marks, anyway.
Have you used stencils to decorate before? What other tips do you have? Share them in the comments below!
{Affiliate links were used in this post.}


Comment Policy
I welcome comments and conversation. All comments are moderated, and may not appear immediately. As long as you are respectful and courteous, your comment will be approved.(Read my comment policy for more details.)